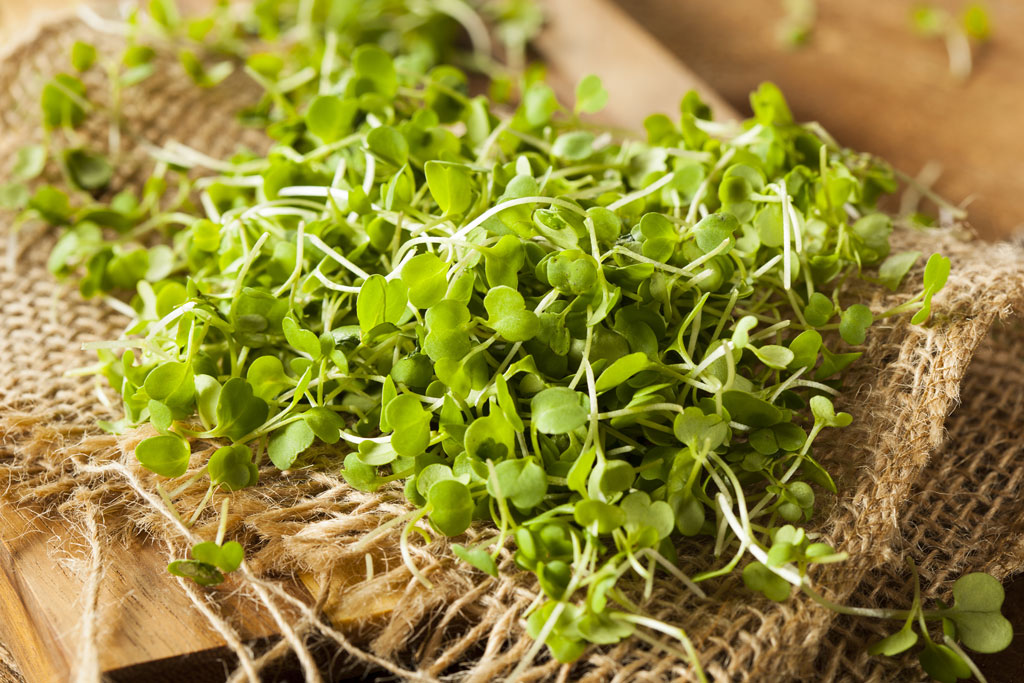
Each spring, gardeners in the Northern Hemisphere begin sprouting seeds that will soon be placed into the dirt and grow into full, vibrant plants, yielding colorful vegetables, flowers and fruits throughout the summer. Then winter comes. Our gardens go into hibernation, and grocery store produce becomes small, bland and fragile. But I say this is the time to think about sprouting seeds again. Or, in other words, cultivating microgreens.
» What Are They?
“Microgreen” is really just a fancy word for those immature starter shoots that you germinate indoors in the spring, but instead of allowing them to mature and then planting them in the soil, you harvest them after a couple of weeks. Recently termed “indoor kitchen gardening,” these petite greens became popular with chefs in San Francisco during the 80s and awareness has slowly grown since.
Recent studies concerning the nutritional value of microgreens have shown that these baby powerhouses contained about five times greater levels of vitamins and carotenoids than their mature plant counterparts!
Story continues after a quick message from our sponsor below.
» No Trouble At All
No, seriously. Microgreens are so easy to grow yourself. There is even a company that makes in-home, self-monitoring cultivators (www.urbancultivator.net). Here are the basics:
Sunshine: Choose an indoor location that gets decent sun exposure. If you are in a region of the country that experiences long stretches of sunless days, you might invest in a heat lamp. Also, make sure you have plenty of air circulation to prevent disease and mold.
Soil: Use a sterile soilless medium like peat moss, or an organic seedling mix that contains vermiculite. Potting soil can be added after 7-10 days, if desired, to promote higher nutrient content. Wet your “dirt” beforehand and then spread it out damp in a shallow tray or container.
Seed: I suggest beginning with either a microgreen mix* or an easy-to-grow variety such as broccoli, cauliflower, cabbage, mustard, chia, sunflower or buckwheat. Plant small seeds 10-12 per square inch, and large seeds 6-8 per square inch. Cover lightly with paper towels or a small bit of planting mix.
Soak: Your soil should stay moist but not become too wet. Bottom-watering is ideal and simple to set up yourself with a quick Google tutorial search. Water with a mist. Retain humidity by covering the tray with a white or clear plastic dome, ventilating when the sun is out.
Snip: Microgreens are ready to harvest when they have reached their first true leaf or seed leaf stage, about 1-2 inches tall. This usually ranges from 2-4 weeks. Cut by the handful with scissors, or quickly shave the entire tray with an electric knife. But be gentle. The little guys are fragile!
Savor: Each microgreen has its own unique flavor profile. You will also be surprised to discover that many taste decidedly similar to their mature counterparts. Play around with different seed and sprout mixes to create a range of flavors, from spicy to herbal to sweet. Create a salad with a variety of microgreens and veggies, add to a sandwich, or sprinkle on top of a warming winter soup.
Shelf life is short for microgreens – only 5-10 days – and they require refrigeration to maintain freshness. For optimal flavor and vitality, snip directly from tray to plate or dish. Cooking microgreens is not recommended.
*Organic seed mixes available through High Mowing Seeds, Johnny Selected Seeds or Sproutpeople.
By S. Michal Bennett
As Featured In: Winter/Spring 2017


