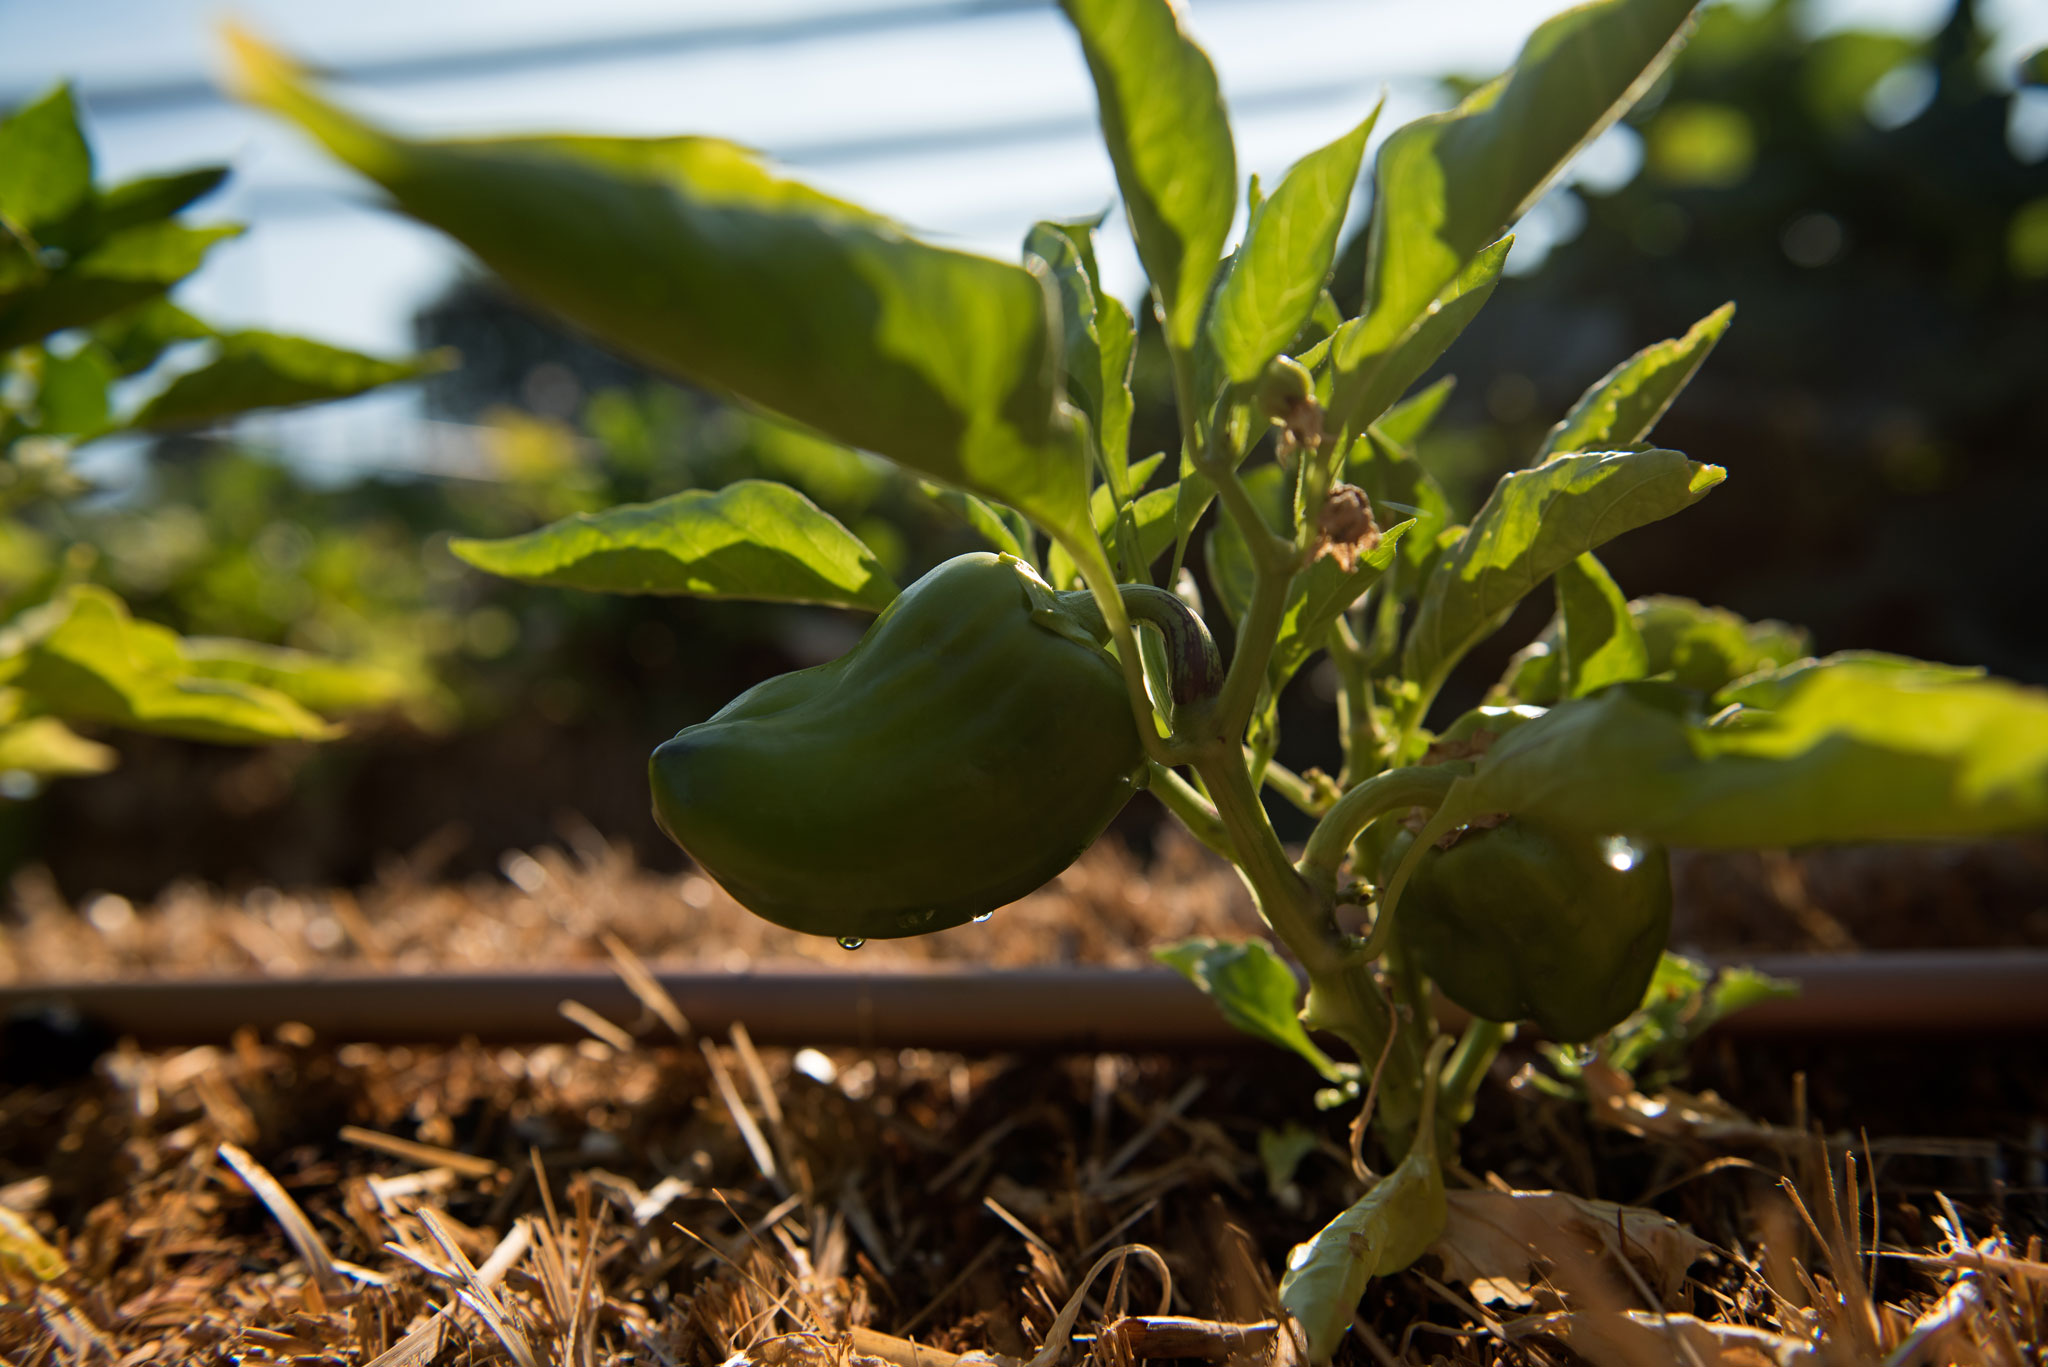
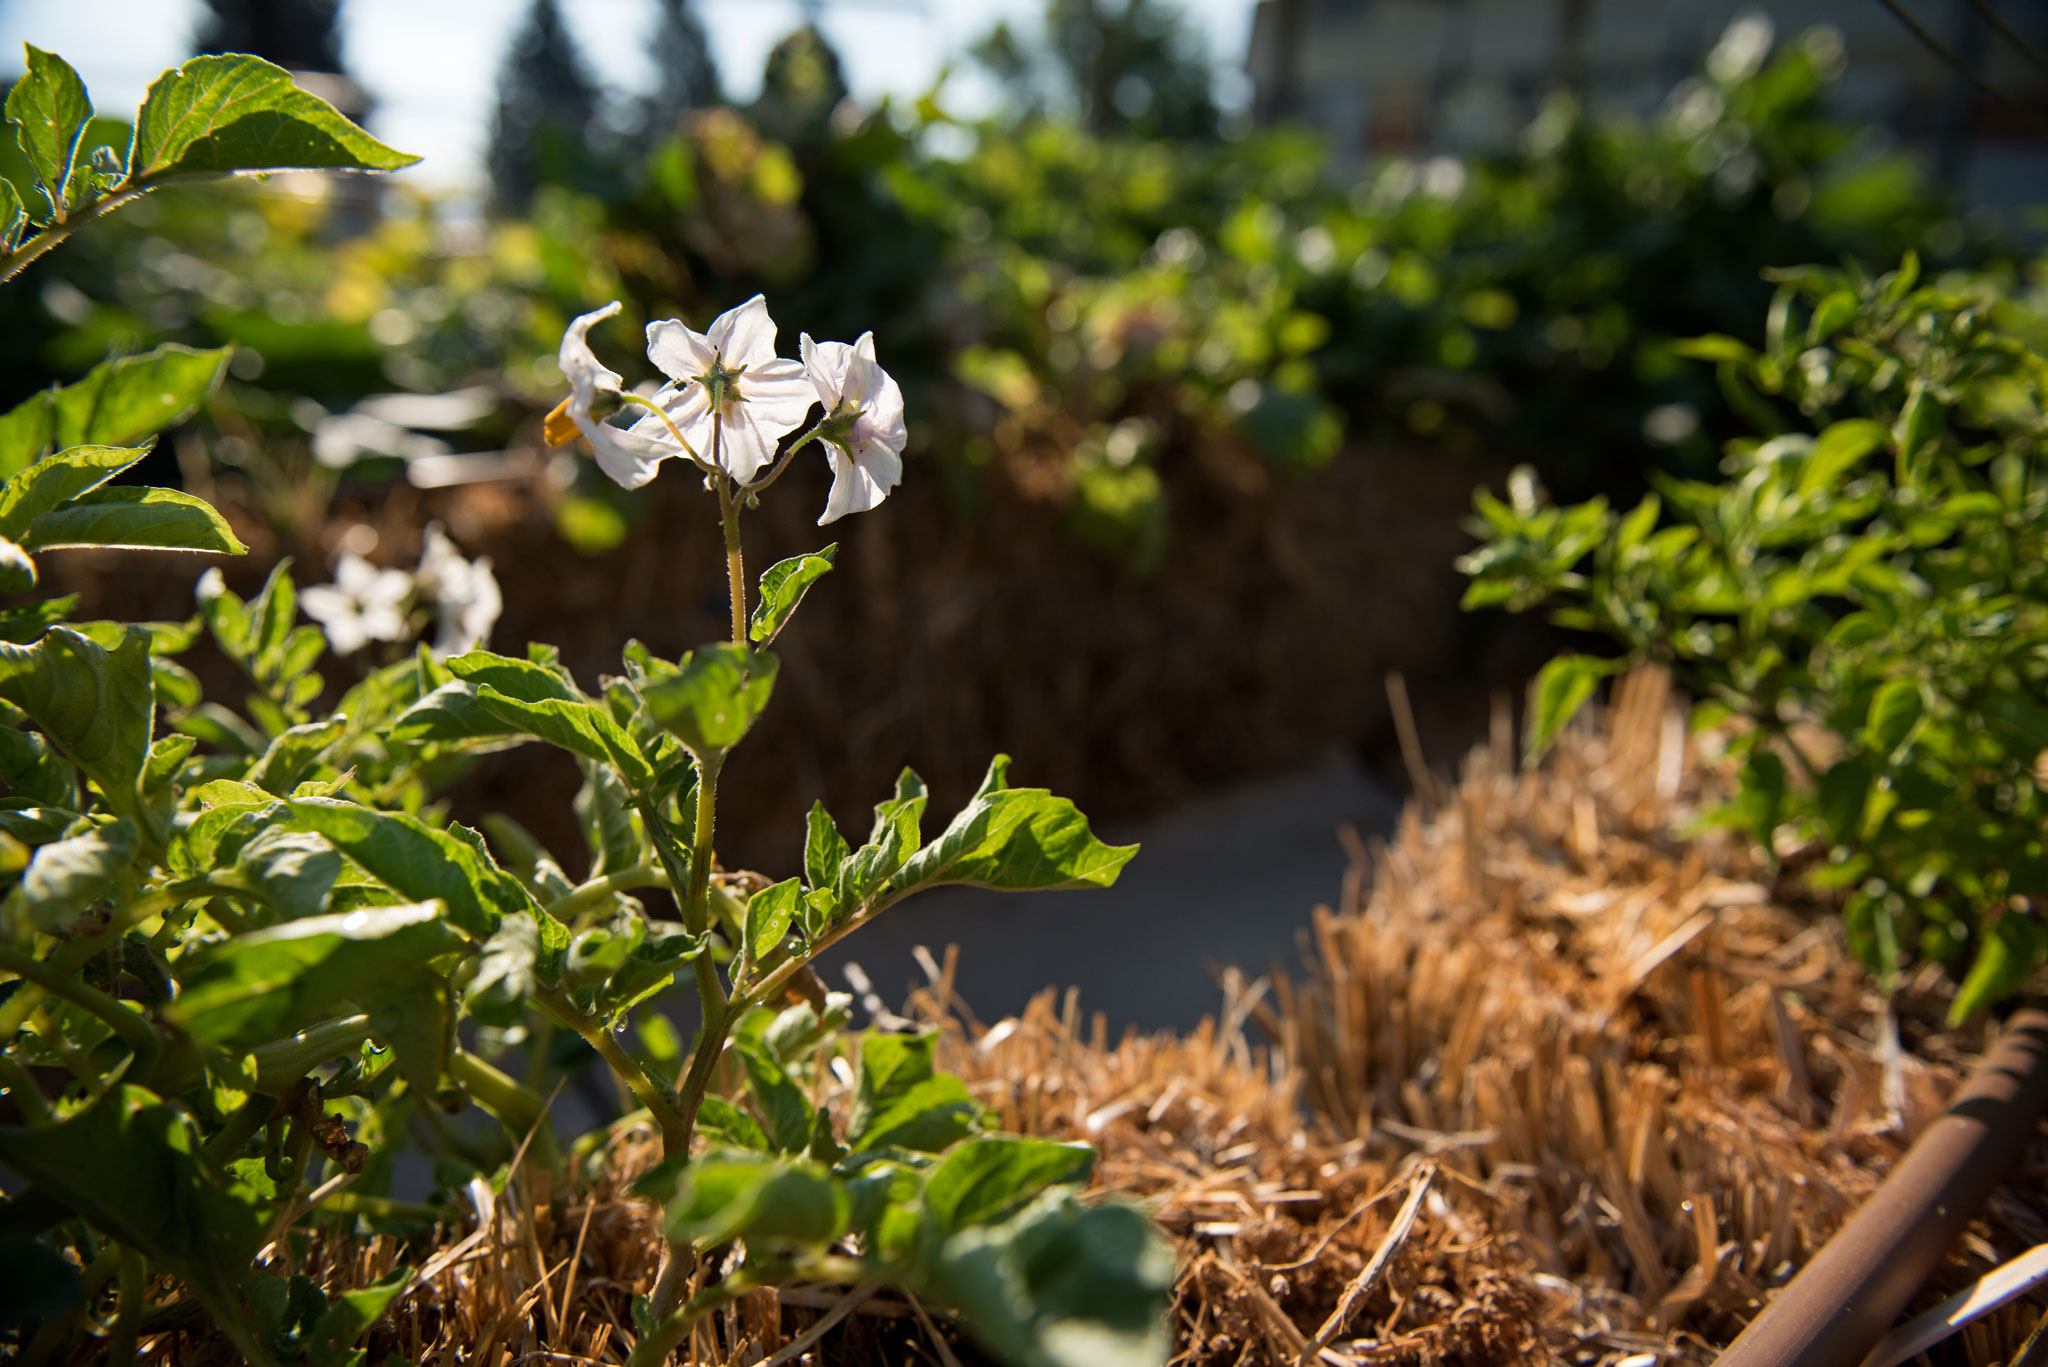
Straw bale gardening is a 20th century vegetable growing method conceived by author, lecturer and gardening pioneer Joel Karsten. Karsten grew up on a farm where they used straw bales for animal bedding. They spent each summer drying, baling and raking straw bales, which could be found practically everywhere on the farm.
“Once straw is dried, baled and raked, it must be put into dry storage quickly,” writes Karsten. “Wet bales are worthless for bedding.” Although it didn’t seem significant at the time, he did notice that damp bales eventually lost their yellow color and began to sprout thistle seed that had been carried into the yard by the wind.
Story continues after a quick message from our sponsor below.
After graduating from the University of Minnesota, Karsten was eager to dig up the yard of his first house and plant a vegetable garden. But the soil was little more than dense clay and concrete rubble. Then he remembered the thistles, and the idea for straw bale gardening was born.
A straw bale garden is simply bales of straw, not hay, that are decomposing and creating a nutrient-rich medium for growing fruits and vegetables. What’s the difference between straw and hay? Hay is grass or legume stalks that have been cut and dried. Straw is the stalks of grains left after the grain has been harvested. It is also hollow, like a drinking straw, and is usually sterile and free of weeds. A bale is long stalks bent in half and bound. You’ll notice that the “tube” ends are on one side of the bale, while the curved stems are on the other.

Start prepping your bale garden in late winter or early spring. Place the bales tube ends up in rows, allowing space to walk between the rows. Get a couple extra bales, and spread the straw between the rows to discourage weeds and grass. Make sure your bales are exactly where you want them. Fresh straw bales weigh 50-70 pounds, but can quadruple in weight after conditioning.
Condition the bales by infusing them with a nitrogen rich organic liquid fertilizer and lukewarm water (dosage and frequency vary with climate, time of year, and placement). As the bales begin to “cook,” they give off heat and eventually turn into brown mulch on the inside.
Before planting, Karsten suggests building a pole and string trellis along the length of your rows, similar to a Florida Weave Tomato Trellis. This will contain your plants, and provide a system for sliding plastic covers over young plants in case there’s a frost.
To plant your bales, spread two inches of organic potting soil along the center of the row and sprinkle your seeds on top. Cover seeds with soil as directed on the seed pack. Use a sturdy trowel to make holes for starters, if not using seeds. Water as you would any garden – preferably with soaker hoses or an irrigation system. Do not overhead water. Then, sit back and watch your garden grow.
Straw bale gardens thrive on gravel, concrete, dirt, sand, tile – basically any hard surface. If you want to know more, check out Karsten’s book and strawbalegardens.com. N
By S. Michal Bennett
As Featured In: Winter/Spring 2018


